How to configure access control on main router for TL-WR802N
Since TP-Link mini router TL-WR802N has different working modes, so let’s start with the basic introduction to access control configuration for different modes of TL-WR802N on main router.
Scenarios:
1). Client Mode

When TL-WR802N working as client mode, there would only one wired client device, so on main router, we can set access control as Whitelist and only allow that wired device and 802N itself to have internet access. However, it still depends on your practical scenes.
2). Access Point Mode

When TL-WR802N working as access point mode, there would have several different wireless client devices. Under this situation, how you set access control on your router to control these client devices would mainly depend on your actual network requirements.
3). Repeater Mode

When using TL-WR802N as repeater mode, it is suggested for you to use Whitelist as access control rule on main router.
4). Router Mode or Hotspot Router Mode
-------Router Mode

-----Hotspot Router Mode

When TL-WR802N works as Router Mode or Hotspot Router Mode, we cannot set access control for TL-WR802N on main router under Router Mode and Hotspot Router Mode.
If TL-WR802N works as Client Mode, Repeater Mode and Access Point Mode, all client devices connected to TL-WR802N would be displayed on DHCP list of main router. Under this condition, we could put these client devices into the access control list of main router to restrict internet connection.
However, when TL-WR802N working as Router Mode or Hotspot Router Mode, currently, your network topology would have double-NAT. In this case, all client devices connected to TL-WR802N are in the different network from main router under the effect of NAT. Thus, if you put TL-WR802N into access control list of main router, only the connection between your TL-WR802N and main router would be effected.
Settings:
Then, how I configure access control on main router for TL-WR802N working as client mode will be taken as an example.
Step 1: Make sure your TL-WR802N has the latest FW190218.
Step 2: Configure TL-WR802N as Client Mode.
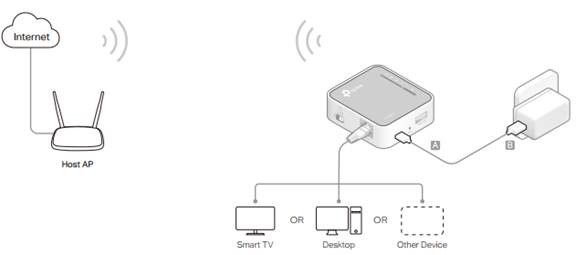
1. Connect your device to the router wirelessly or via an Ethernet cable. The Wi-Fi network name and password are on the router’s label.
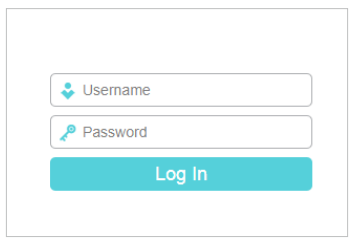
2. Launch a web browser and enter http://tplinkwifi.net in the address bar. Log in with admin (in lowercase) for both username and password.
3. Click Next to start the Quick Setup.
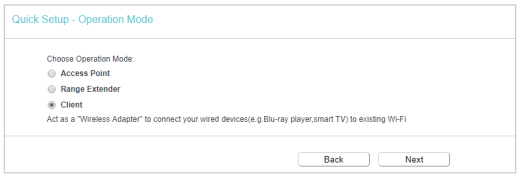
4. Select Client for the operation mode of the router.
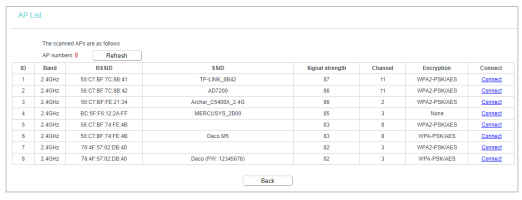
5. Click Connect to connect to the host network in the AP List page.
6. Enter the password of the host network.
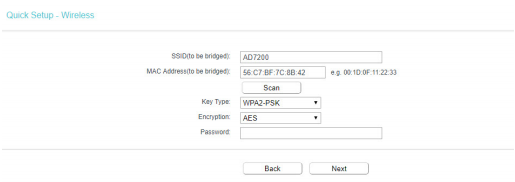
7. Select the LAN IP type of the router or leave the default settings Smart IP for most cases, and then click next.
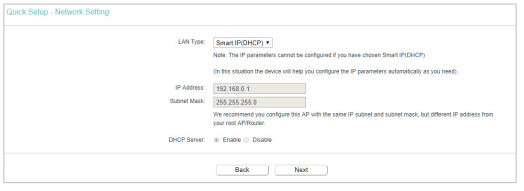
8. Click Finish to apply the settings. Now connect your wired-only device to the router with an Ethernet cable.
Step 3: Login the management page of TP-Link router Archer C9 and found 802N and wired PC are listed as below on DHCP part:

However, on Wireless Clients Part, TL-WR802N and wired PC are sharing the same MAC address as below:

Step 4: Enable Access Control on Archer C9 for TL-WR802N and wired PC, and fill this MAC address into the Whitelist. Then, access control was set up successfully and only wired PC can still work and other computers cannot work from main router.
The above info indicates that TL-WR802N uses Three-Address Interaction, and that is the reason why TL-WR802N and its client device use one same MAC address to communicate with main router and on Wireless Client Part of main router, we could only see one same MAC address for these two devices.

